Imperator Vult!
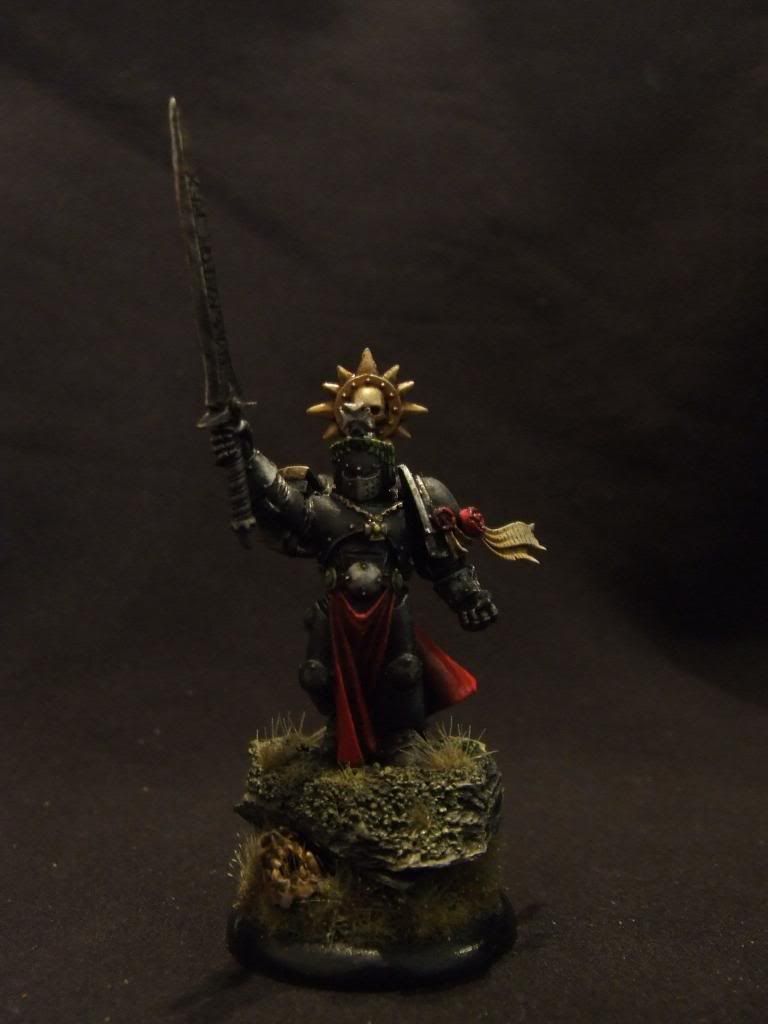
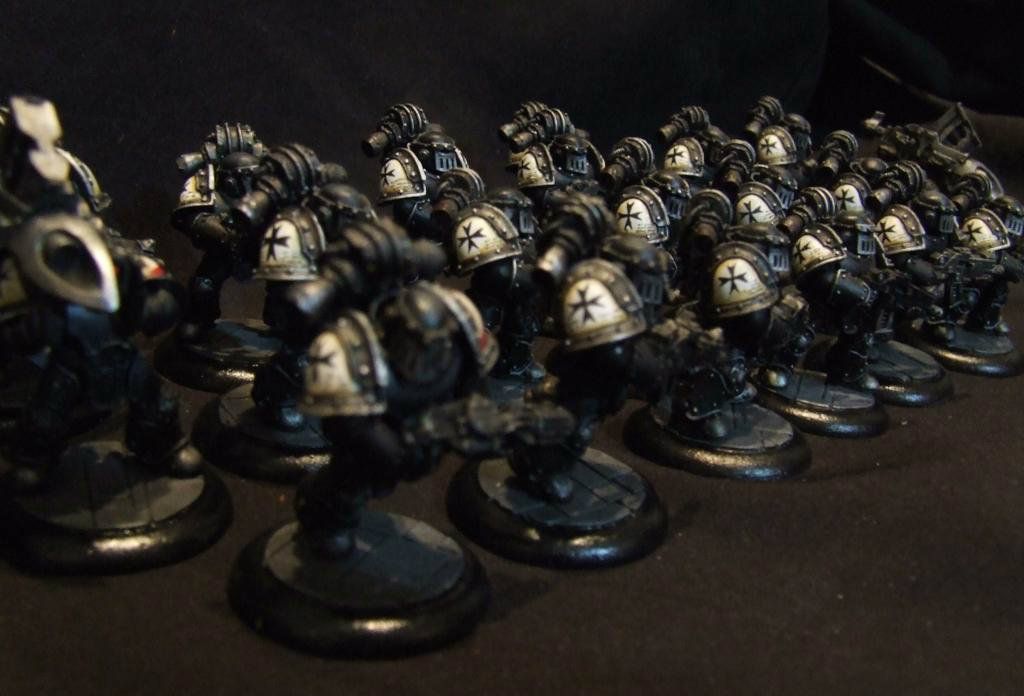
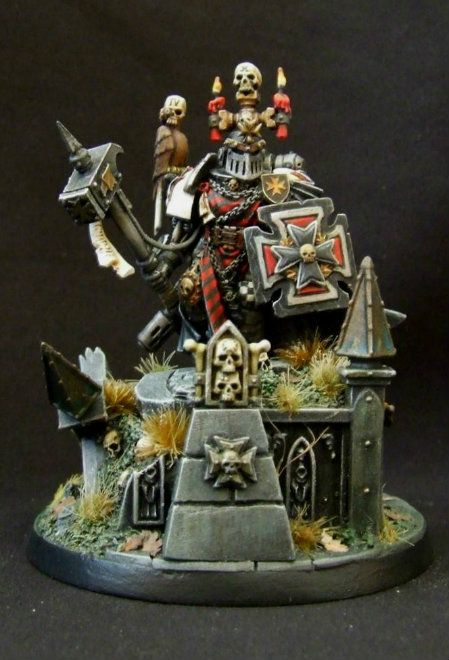
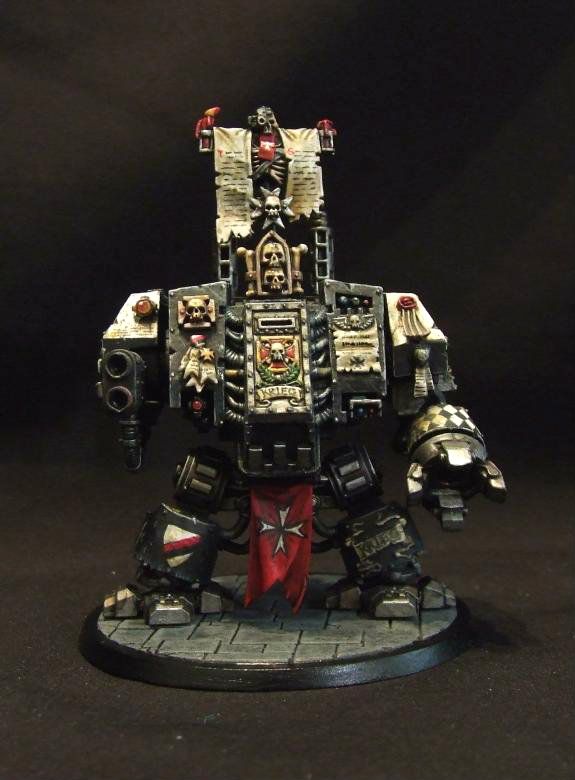
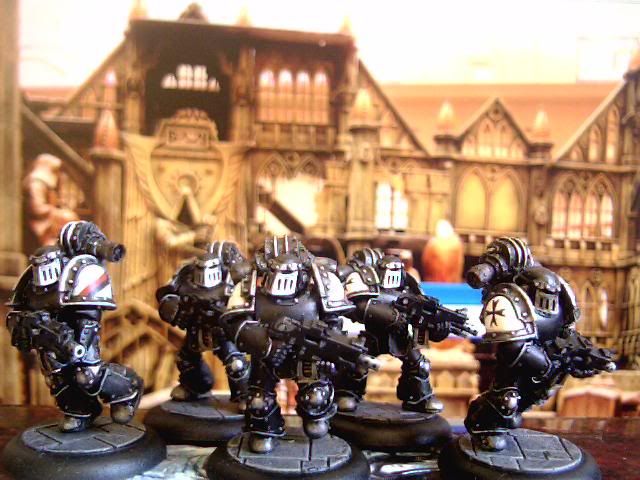
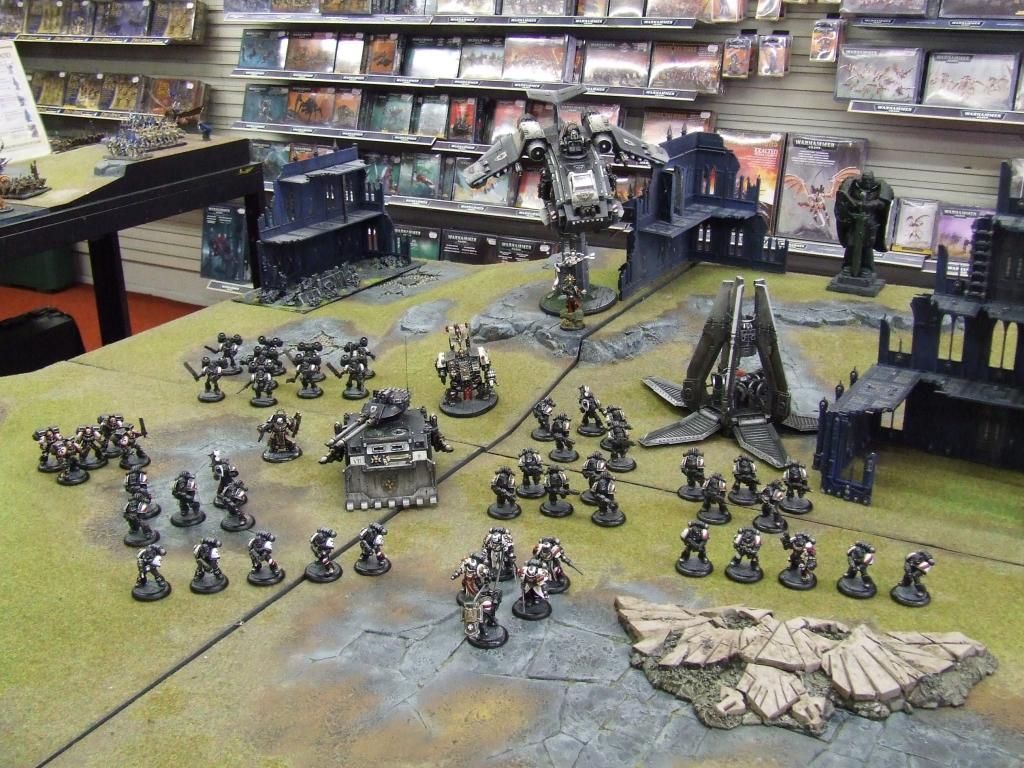
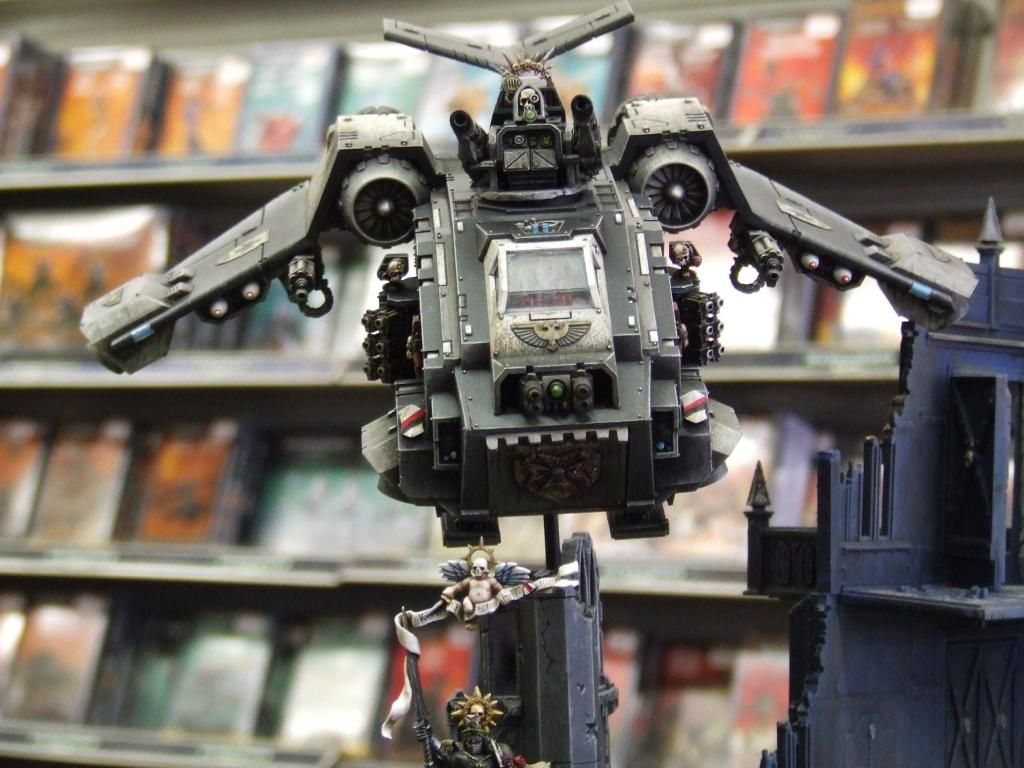
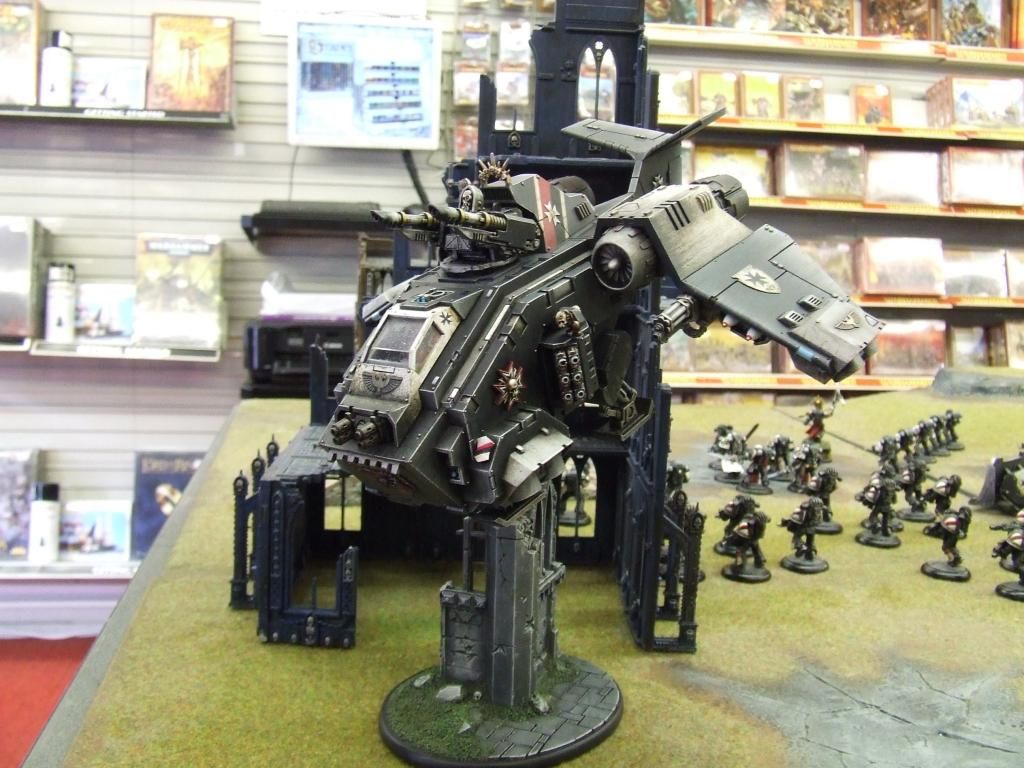
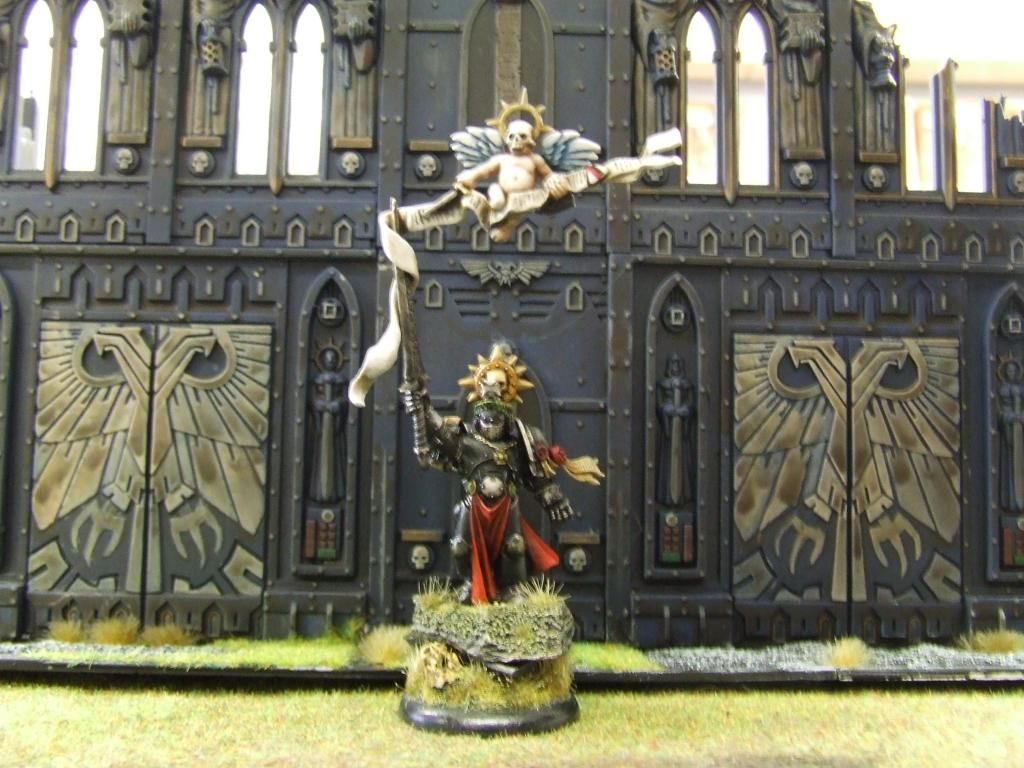
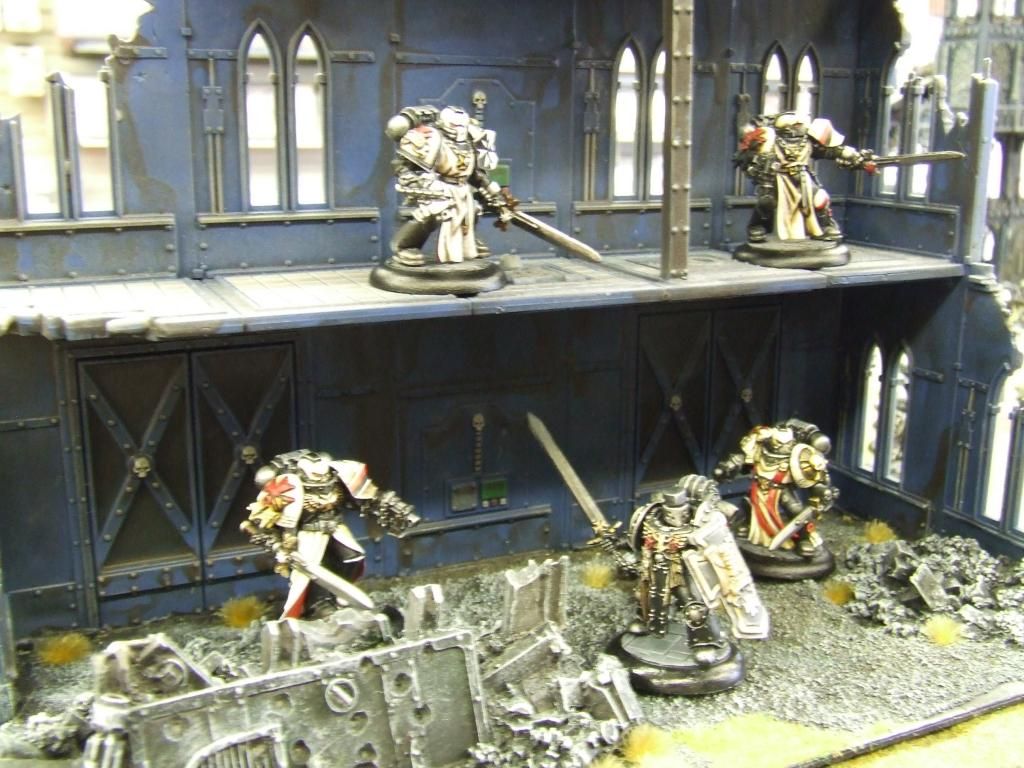
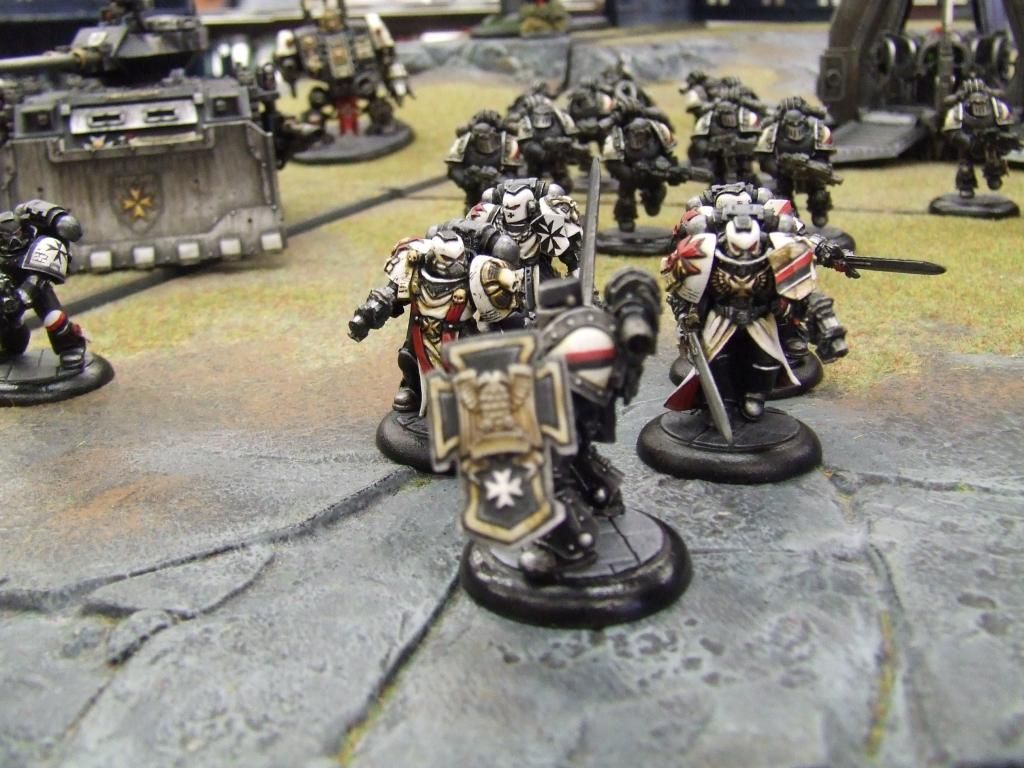
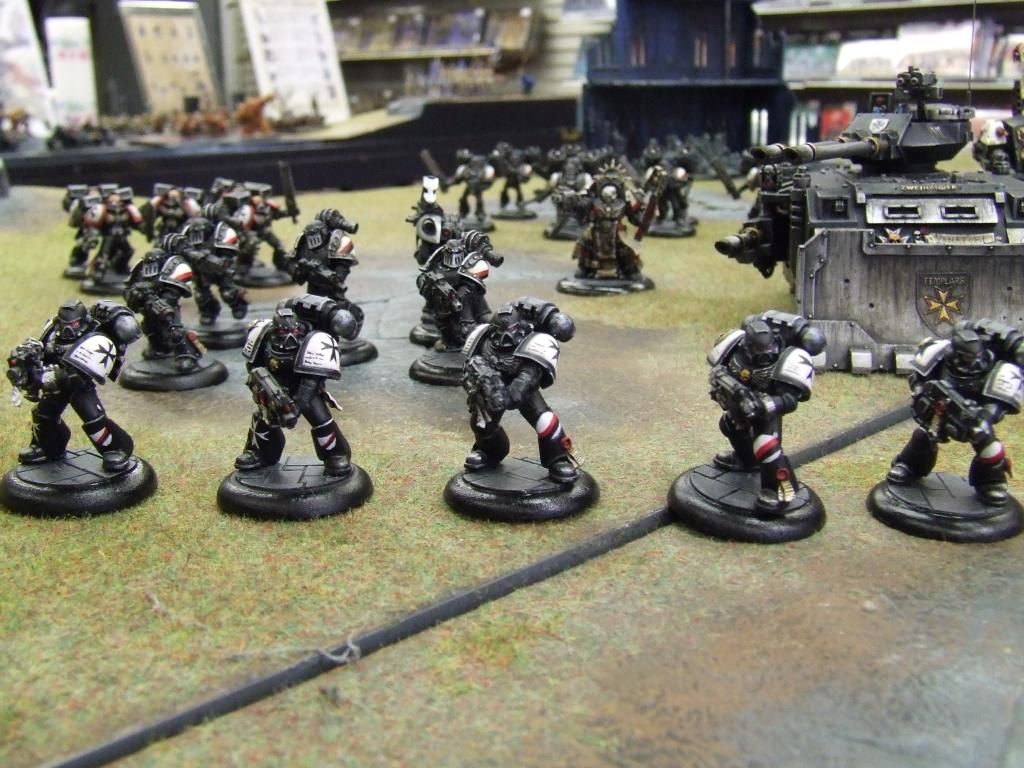
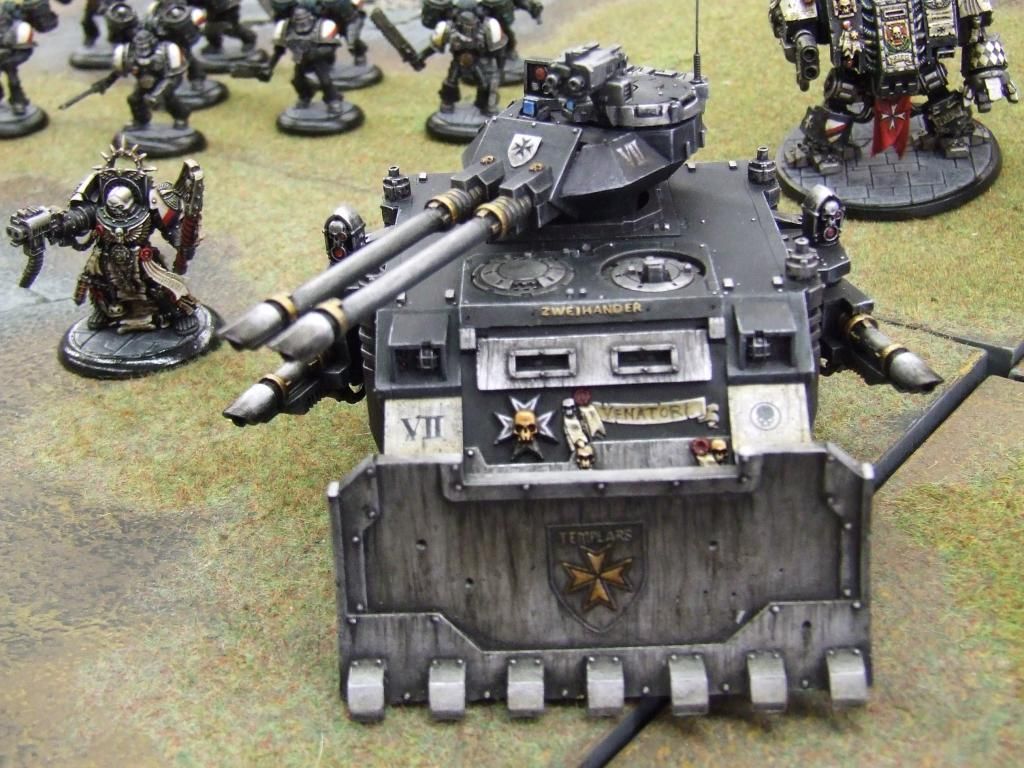
This is part of what I have researched online and experimented with over the years. Here is a list of stuff that may or may not be useful to Templar players in particular. We have a really cool but annoyingly difficult to get right colour scheme. It's black but it needs detail. Argh. We need our lads to look grim and double-ard but without becoming blobs of black with white. So you get the kit, you make the marines..what next?
After prepping the miniatures as much as you want to, get them ready for the painting.
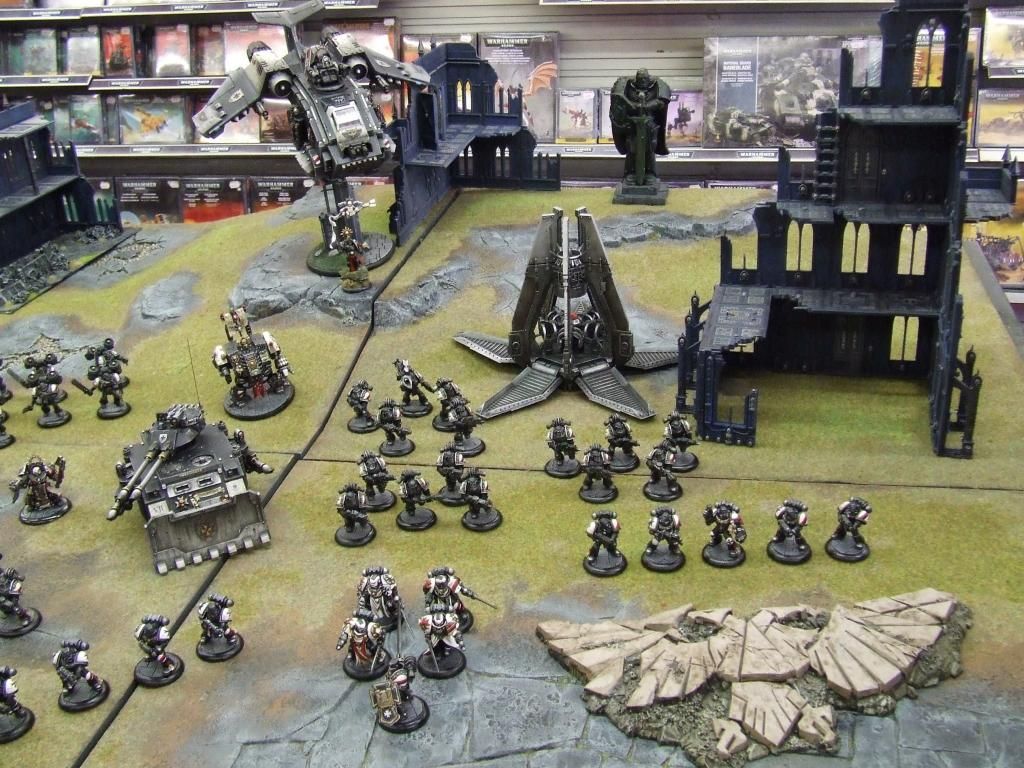
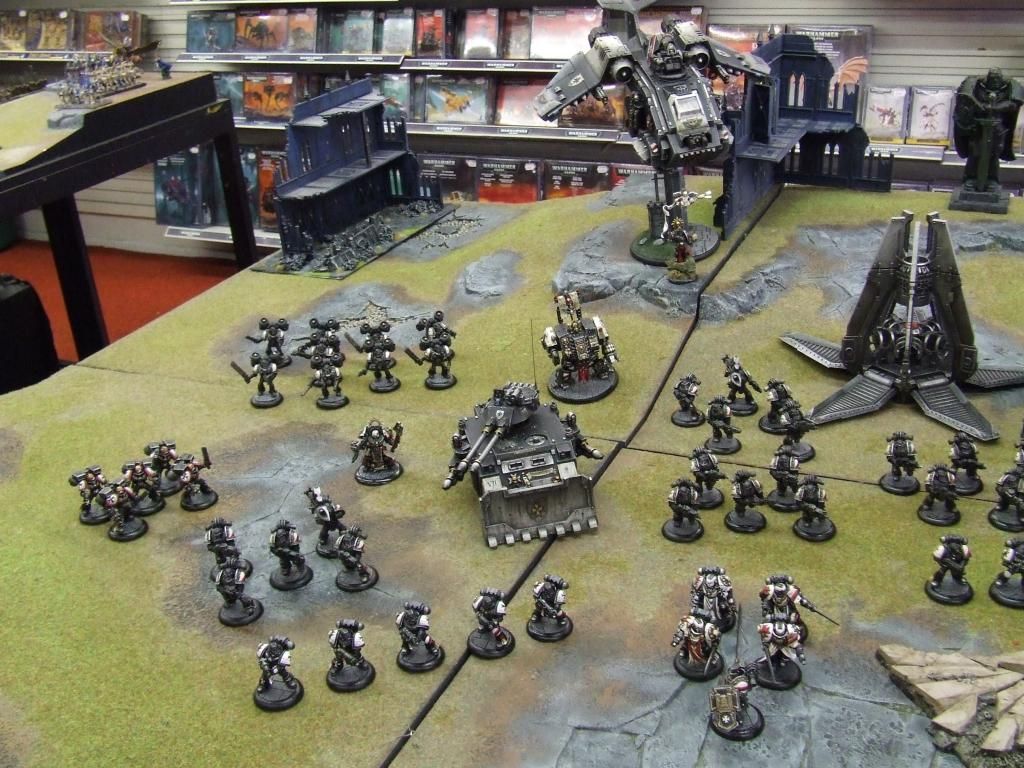
Get all ten of them ready in a go or squad etc. Don't mess about with one at a time. This is a battle force not golden demon. This is a crusade and it needs to get seriously underway from the start.
Mount the miniatures on a cork stand or a painting socket. Go to the hardware store or wilkos or w/e and buy a big pack of wine corks. Pin your figure in the soles of his feet with paper clip/wire and impale him on his cork stand. you can weight the cork stand/socket underneath with coins glued together if you are clumsy like moi. This whole process means your miniatures never get touched by anything other than a brush during the painting process. Very important. Does not matter they are going to be mostly black anyway.
They must be treated reverently by us lowly paint servitors as the holy warriors of mankind that they are.
Zenithal highlighting at the undercoat stage is a biggggg part of the process.
A brief explanation:
Don't start painting your black undercoated miniature without hitting it briefly afterwards with white spray from a single direction mimicking a light source above/angle to the miniature. Don't go crazy. Quick zip from steady location, one direction and slowly rotate the mini in one direction a little. You are aiming to get the 'light source' white spray gently across one side of the mini from a 45 degree angle downwards.
Subtle is the result you want, just hint of light from one source. This will instantly help define your miniature. Before you even start painting him you will have an optical reference of where the 3D effect of light would be on all black areas.
Next step can be slow so let minis dry out from spray for a while. No rush, make a drink or snack or burn a heretic.
Shade down to black now in shadows where the light spray hit with careful brush tip washes.
It is FAR easier than trying to get a smooth highlight by lightening the figure up with progressive greys etc.
This way you're also not caking paint on the miniature to define it, you're applying thin thin thin layers of watered paint to do the same job..
Use different subtle inks and glazes of colour on metallic areas to try and break up the blandness of monotonous silver-against-black sections of the miniature.
Great thing about doing a squad at once is that once you start shading down and getting damp miniatures in a conveyor belt of 'do this section, swap, repeat, contue etc. if you get a rhythm going it vastly helps increase speeds. you may end up at times waiting for all 10 to dry at once.
No problem... again, take a break or check ebay for that bit you really need for that conversion or just persecute a witch perhaps.
[b]Never[/b] use pure silver like platinum or mithril or runefang or w/e across a surface without washing it down carefully afterwards.
These are templars and they spend almost every moment of their lives deep in conflict. They don't need to look like parade ground. The battlefront is where they march.
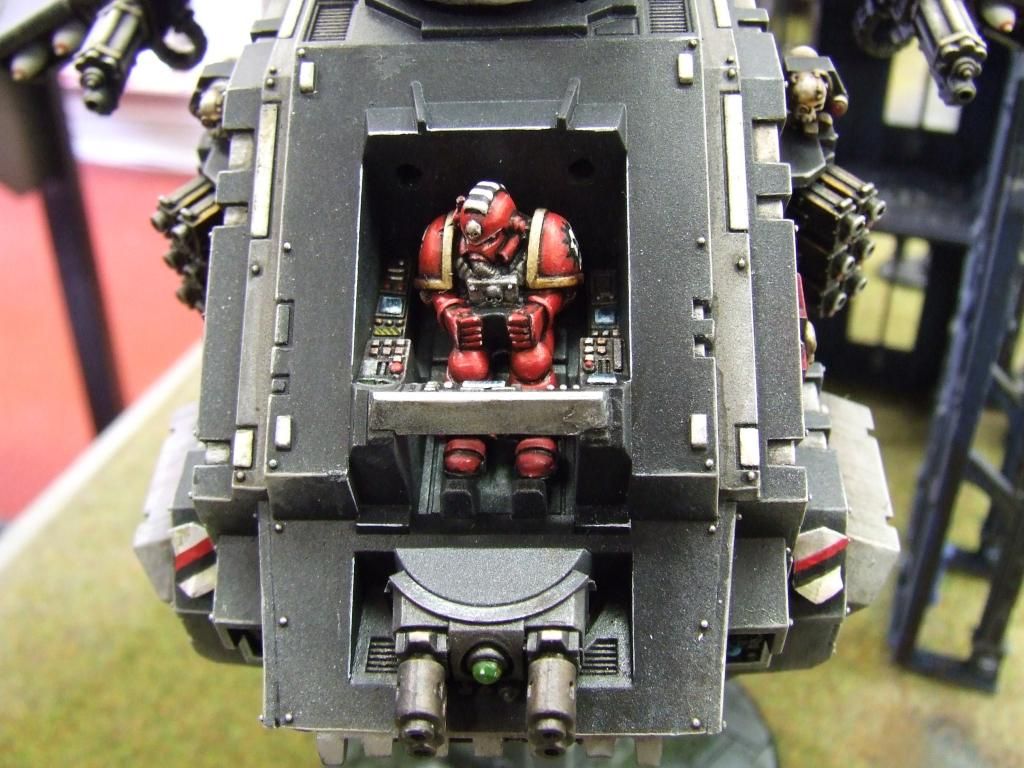
So, Only ever use pure silver for edge highlighting and popping rivets. Again, good practice for brush control.
The whites a bit trickier. You can either leave the shoulder pads off the mini when u prep/undercoat and spray them matt white then line them out afterwards or.... or do it the long way and paint your undercoated pads up from the black undercoat (with its spray highlight, of course).
The long way will almost always look better however for some reason. It just looks more 'solid'.
It must not be chunky with paint as much as you can help it, I made this mistake a few times before. Hence why thinning the white is so important.
Like milk. Go look at milk in your refrigerator. Contemplate the milk. Exactly Like that.
Now go make the white paint like milk with water or flow improver or whatever you personally find easiest to work with.
As it is runny as hell you must be careful how you load your brush.
Don't ever let it drip or run from the brush tip when u apply it.
Don't let it pool on the pads. It goes on smooth. Good brush is important here. Again, whatever brand works for you is best.
You end up building up a thin grey splotchy pad to white even coats in many stages depending on room temperature, use of hair dryer etc, motivation, lack of annoyance from others etc or just plain luck to get a matt white pad. It must be matt. NO exceptions. If it is not matt white, it's not worthy or being on the Templar.
Lotsss of thin coats.
You'll get the hang of it very quickly.
ALWAYS Let each coat dry fully between application.
Paint the icons on shoulder pads now again using thinned black and sparsely loaded brush tip. Paint the icon by making a tiny vertical and equal cross + then rotate the shoulder 45 degrees then paint one side of a v in each direction from the cross tips, keep the brush fixed in the same direction for every line then reverse it and do the same. So you now have a cross + with 4 small v at each point, in each direction fanning outwards. Fill in the V points from the tip in a straight line to the center cross. Again you need a good brush you feel confident with for detailing.
Fix the white painted pad and icon you painted [i]together[/i] with a quick thin varnish (ideally airbrush for thinness).
Let it dry thoroughly.
Take a break.
Execute a xeno or two.
Now, glaze each pad back down with very thinned layers of sepias and camoshade hues to cut in the edges against armour. As you apply each wash, dab the surface clean in one direction [b]gently[/b], downwards.
This takes the inky glazes off the point you want to leave whitest. It will look extra 3D this way I promise.
After you are happy with the overall look and tone of the miniature, carefully add sparing edge highlights to the most extreme edges - a mithril/platinum to the metallics, and lighten up the black edges here and there with a lighter mix colour like rakarth or dheneb but sparingly. You could add even thinner whiter points to certain edges if you feel confident. As with all edge highlighting it is about brush control using the side of the brush tip. Be prudent but get those edge light hits in the same places. light does not hit something from all directions strongly so look at how the figure is standing, where your zenith is, and improve the light edges that respond to that most.
Depending on how fast you do all these stages and the care you took applying it to the miniature will dictate either how crisp it looks or how grubby and crisp it looks. Either way, it's crisp and has definition even though it is a dark colour scheme.
Motivation is important and you need time to devote to a project obviously. It's always a stumbler for many of us because life gets in the way of hobby.
That's kind of all I can think of for the moment that's really been useful to me doing my Templars.
These basic techniques are easy to do over time with patience, anyone can do it I believe with practice.
Developing brush accuracy is important and your creativity and how far you want to push it..
You learn to let surface tensions and capillary action work for you and it's a lot easier, less frustrating and enjoyable too.
A few other general tips finally: Practice a lot. Not just on miniatures either. Try painting anything on anything as long as you are using a brush because its constantly calibrating your mind and hand and brush together and you WILL get better.
Consider how you hold your brush. Do you use your 'spare' fingers to stabilise both hands and miniature together while painting. How you sit when you are working. Are you as relaxed as you could be. Is your light source sufficient for working under. Take breaks often if you need them. It's a lot of concentrating and it needs to be fun not a chore.
Enjoy your hobby!